When it comes to drywall installation, one of the most important yet frequently overlooked rudiments is the corner. Whether you’re working on an innards or surface wall, corner globules give essential structural support, icing your corners stay sharp, straight, and damage-free. Installing drywall corner blob might feel like a small detail, but it makes all the difference in achieving that professional, polished finish every time.
What’s Drywall Corner Bead?
Corner blob is an underpinning material used to cover and shape drywall corners. Generally made of essence, vinyl, or paper- faced accoutrements, corner globules help produce sharp, clean angles that not only enhance the aesthetic of a room but also add continuity to areas prone to wear and impact. Without corner blobs, drywall corners are more susceptible to dents, cracks, and misalignment.
Tools and Accoutrements You’ll Need
Before getting started, collect these must- have tools for the installation
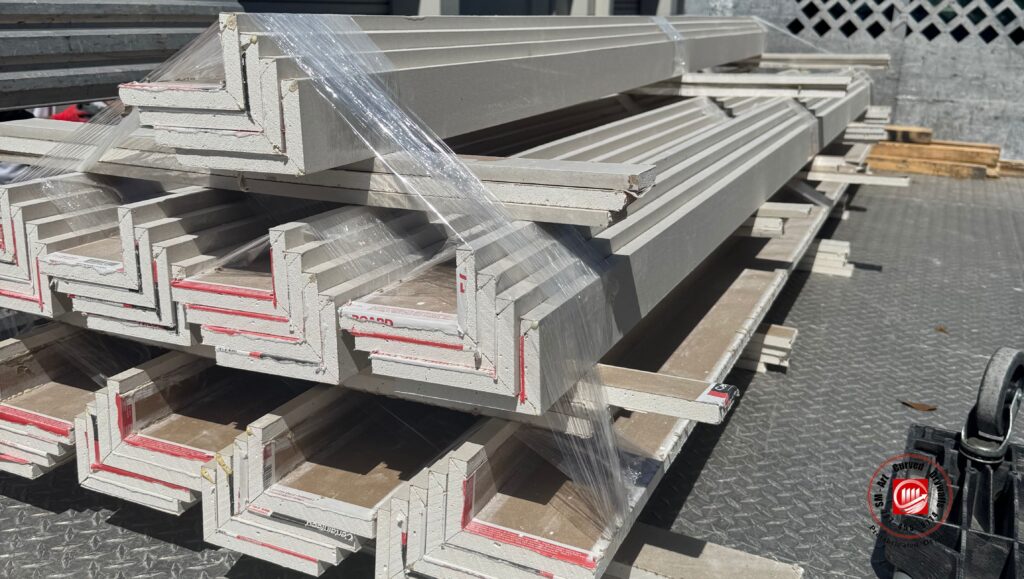
- Drywall corner blob (essence, vinyl, or paper- faced)
- common emulsion (drywall slush)
- Drywall cutter or taping cutter
- Measuring tape recording
- mileage cutter
- Drywall nails or screws
- Screwdriver or hammer
- Sanding block or pole sander
Step- by- Step Installation
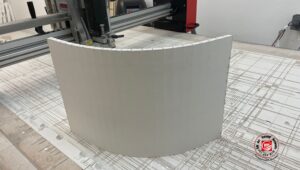
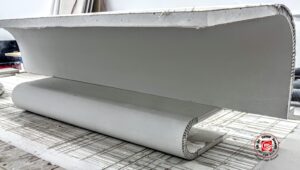
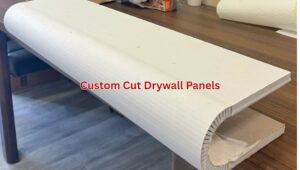
- Measure and Cut the Corner Bead
Start by measuring the corner length and cutting the corner blob to fit. A mileage cutter works well for cutting vinyl or paper- faced globules, while drum snips are ideal for essence corner blobs. Cut the blob so that it fits the corner precisely, with no gaps. - Position the Corner Bead
Align the corner blob with the edge of the drywall, icing it’s flush against both sides of the corner. Make sure the blob sits unevenly and is cantered along the joint for the stylish look. - Secure the Corner Bead
Once the corner blob is in place, use drywall screws or nails to attach it to the drywall. When attaching essence globules, space the fasteners roughly 6 to 8 elevations piecemeal. For vinyl or paper- faced globules, you can press the blob into a subcaste of common emulsion, which will help hold it in place during the drying process. - Apply common emulsion
With the blob secured, it’s time to bed it into the drywall. Using a drywall cutter, apply a thin subcaste of common emulsion over the corner blob, covering the fasteners and icing the blob is completely sealed. Feather the edges of the emulsion to smooth it out and blend it into the girding drywall. - Beach and Finish
After the emulsion has dried, use a sanding block or pole sander to smooth out the area. Apply fresh fleeces of common emulsion as demanded to ensure an indefectible finish. Allow each fleece to dry completely before grinding and adding further layers. - Prime and Paint
Once the corner is smooth and dry, it’s time to apply manual and makeup. This final step will seal the drywall and give your corners a professional, polished look that lasts.
Final studies
Installing drywall corner blobs is a straightforward process that can make a big difference in the final appearance of your walls. By following this simple way, you’ll produce durable, clean corners that not only enhance the strength of your drywall but also elevate the overall aesthetic of your space. Whether you’re a DIY sucker or a professional contractor, learning corner blob installation is a skill worth perfecting.